
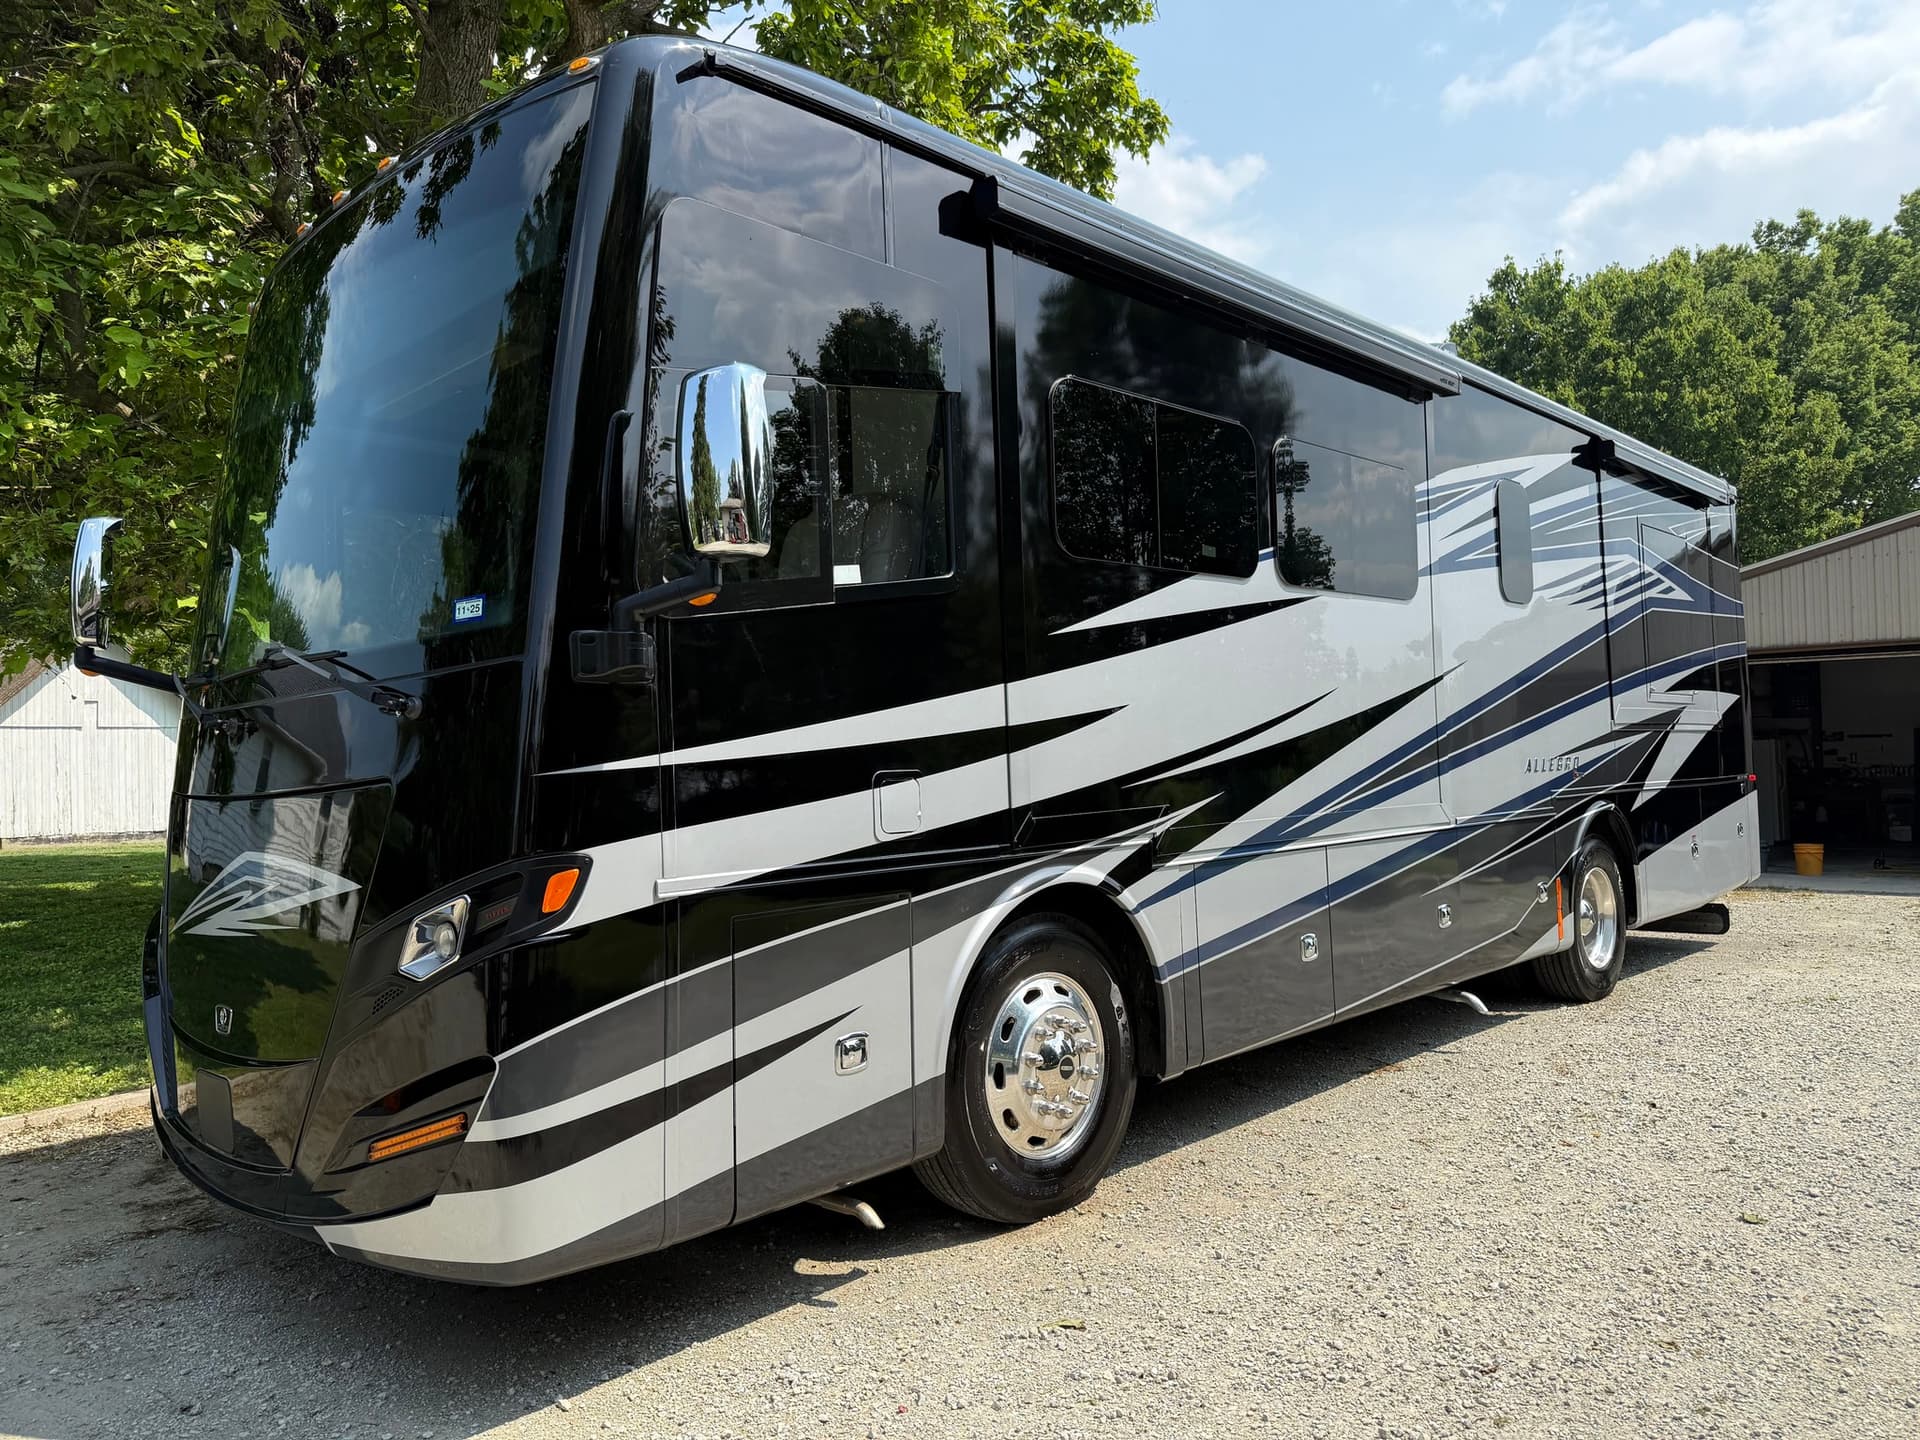
RV interior detailing is a full deep clean of the living space inside your motorhome, from the carpet and upholstery to the windows, blinds, and cabinets. A real RV interior detailing job goes way past a quick vacuum. It includes shampooing fabric, extracting stains, wiping every surface, cleaning the kitchen and bathroom, and removing odors. This guide gives you a step-by-step checklist to deep clean an RV interior, plus tips for upholstery, windows, blinds, and stubborn smells. Whether you do it yourself or book a pro, this is how to make your motorhome interior feel new again.
How to Deep Clean an RV Interior
You deep clean an RV interior from the top down, so dust and crumbs fall to the floor and get vacuumed last. Working in order saves you from cleaning twice.
Follow this flow:
- Declutter and remove loose items, bedding, and floor mats.
- Dust high surfaces like shelves, vents, and cabinet tops.
- Wipe down counters, the dash, tables, and hard surfaces.
- Clean the kitchen and bathroom, including the sink, stove, and toilet.
- Treat fabric, shampoo upholstery, and spot-clean stains.
- Vacuum and clean floors last, including slide-out tracks.
Top to bottom is the golden rule. A motorhome is a small space, so dirt moves fast and lands everywhere if you clean out of order.
RV Interior Detailing Checklist
A good RV interior detailing checklist makes sure you do not miss the spots that trap dirt and smells. Print it and check off each area.
Living area:
- Vacuum carpet, rugs, and upholstery
- Shampoo seats and cushions
- Wipe walls, trim, and cabinet faces
- Dust and clean light fixtures and vents
Kitchen:
- Clean counters, sink, and faucet
- Degrease stove, oven, and range hood
- Wipe inside and outside the fridge
- Clean and disinfect cabinet handles
Bathroom:
- Scrub toilet, sink, and shower
- Clean mirrors and fixtures
- Disinfect high-touch surfaces
Sleeping area:
- Vacuum the mattress and under the bed
- Wipe nightstands and storage
- Clean window tracks and screens
A full checklist keeps the job consistent. Slide-out seams and window tracks are the spots most people forget.
Cleaning RV Carpet and Upholstery
You clean RV carpet and upholstery with a vacuum first, then a hot-water extractor for a true deep clean. Surface wiping does not pull out ground-in dirt.
Here is the method:
- Vacuum thoroughly, including edges, seams, and under cushions.
- Pre-treat stains with a fabric-safe spot cleaner.
- Extract carpet and fabric with a hot-water extractor.
- Use the right cleaner for the fabric type (cloth, vinyl, or leather).
- Condition vinyl and leather after cleaning to stop cracking.
- Dry fully with airflow to prevent mildew.
Extraction is the difference between a wipe and a real deep clean. It pulls dirt, spills, and odor out of the fibers instead of pushing it deeper. Always dry the fabric fully, since trapped moisture in a closed RV breeds mildew.
Removing Odors From an RV
You remove RV odors by finding and cleaning the source, not by spraying over it. Air fresheners only mask the smell for a few hours.
Common odor sources and fixes:
- Cooking and grease: Degrease the kitchen and clean the range hood.
- Pets: Extract carpet and upholstery, then use an enzyme cleaner.
- Mildew and damp: Find the moisture source, dry it, and clean affected fabric.
- Holding tanks: Flush and treat the tanks and clean the bathroom.
- Stale air: Replace cabin filters and air out the rig.
For deep or lingering smells, an ozone or enzyme treatment can break down odor at the molecular level. The key is always the same. Kill the source first, then deodorize, then keep airflow moving.
How to Clean RV Windows and Blinds
You clean RV windows with an ammonia-free glass cleaner and a microfiber cloth, and blinds with a gentle wipe-down. Tinted RV windows can streak or haze with the wrong product.
For windows:
- Use an ammonia-free, RV-safe glass cleaner.
- Wipe with microfiber, not paper towels that leave lint.
- Clean the tracks and seals with a small brush.
For blinds and shades:
- Dust day-night shades gently with a soft cloth or duster.
- Spot clean fabric shades with a damp cloth, not a soak.
- Wipe mini-blind slats one at a time.
Ammonia can damage tint and rubber seals. Always test a small spot first on shades, since RV pleated shades can crease or tear if you scrub too hard.
DIY vs Professional RV Interior Detailing
You can handle a basic interior clean yourself, but a deep detail with extraction and odor removal is where a pro pays off. The tools make the difference.
DIY works for:
- Routine cleaning between trips.
- Light dust, crumbs, and surface wiping.
- Small campers with simple interiors.
A pro is worth it for:
- Hot-water extraction of carpet and upholstery.
- Stubborn odors, pet smells, or mildew.
- A full top-to-bottom deep clean before a sale or big trip.
A mobile RV interior detailing service brings the extractor, products, and the time. We deep clean your motorhome interior right where it is parked, so you skip hauling it anywhere.
8) Closing CTA
A clean, fresh interior makes every trip more comfortable, and a deep detail protects your fabrics and surfaces for the long haul. Our team brings the extractor, the right products, and the time to deep clean your motorhome interior right where it sits. Explore our interior detailing or full RV detailing packages. Ready for a fresh start inside your rig? Get a quote today.
When you are ready, browse detailing packages or request a quote. Learn more at Mobile Detailing Expert.
Related Resources
- complete guide to rv detailing
- rv ceramic coating worth it
- clean rv roof without damage
- RV detailing hub
- get a quote
Frequently Asked Questions
How do you deep clean an RV interior?
Work top to bottom. Declutter and remove loose items, dust high surfaces, then wipe counters, the dash, and hard surfaces. Clean the kitchen and bathroom, shampoo and extract the upholstery and carpet, and vacuum the floors and slide-out tracks last. Dry all fabric fully with airflow to prevent mildew. Cleaning in this order keeps dust and crumbs from spreading after you clean.
How do I get odors out of my RV?
Find and clean the source instead of masking it. Degrease the kitchen, extract carpet and upholstery, flush the holding tanks, and dry any damp areas to stop mildew. Use an enzyme cleaner for pet odors. For deep or lingering smells, an ozone or enzyme treatment breaks odor down at the source. Finish by replacing cabin filters and airing out the rig.
What is included in RV interior detailing?
RV interior detailing includes vacuuming, fabric shampooing, and hot-water extraction of carpet and upholstery. It also covers wiping all hard surfaces, cleaning the kitchen and bathroom, cleaning windows, dusting blinds and shades, conditioning vinyl and leather, and removing odors. A full interior detail leaves every surface in the living space clean, fresh, and ready for your next trip. See detailing packages for pricing and options.
How do I clean RV windows without streaks?
Use an ammonia-free, RV-safe glass cleaner and a microfiber cloth instead of paper towels that leave lint. Spray the cloth, not the glass, and wipe in one direction. Clean the window tracks and seals with a small brush. Avoid ammonia, since it can haze window tint and dry out rubber seals over time. Always test a new product on a small spot first.
Can you clean RV upholstery yourself?
Yes, you can vacuum and spot-clean RV upholstery yourself, but a true deep clean needs a hot-water extractor. Extraction pulls dirt, spills, and odor out of the fibers instead of just wiping the surface. Match the cleaner to the fabric type, condition vinyl and leather after, and dry fully. For heavy stains or smells, a professional extractor gets far better results.
How long does RV interior detailing take?
RV interior detailing takes 3 to 8 hours depending on size and condition. A small camper with light dirt might take a few hours. A large motorhome with full upholstery extraction, deep kitchen and bathroom cleaning, and odor treatment can take most of a day. Heavy stains, pet odors, or mildew add time because they need extra treatment and full drying.
RV Detailing Services Near You
AtlantaBaltimoreBirminghamColumbusDallasDenverHuntsvilleIndianapolisJacksonvilleLos AngelesMemphisMinneapolisNew YorkNorfolkOrlandoSan AntonioSan JoseSavannahSeattleTampaTulsaWilmington